

Getting started
Account creation, workspace setup, agent onboarding, channel configuration and plan selection in Vanty.
Create your account and workspace
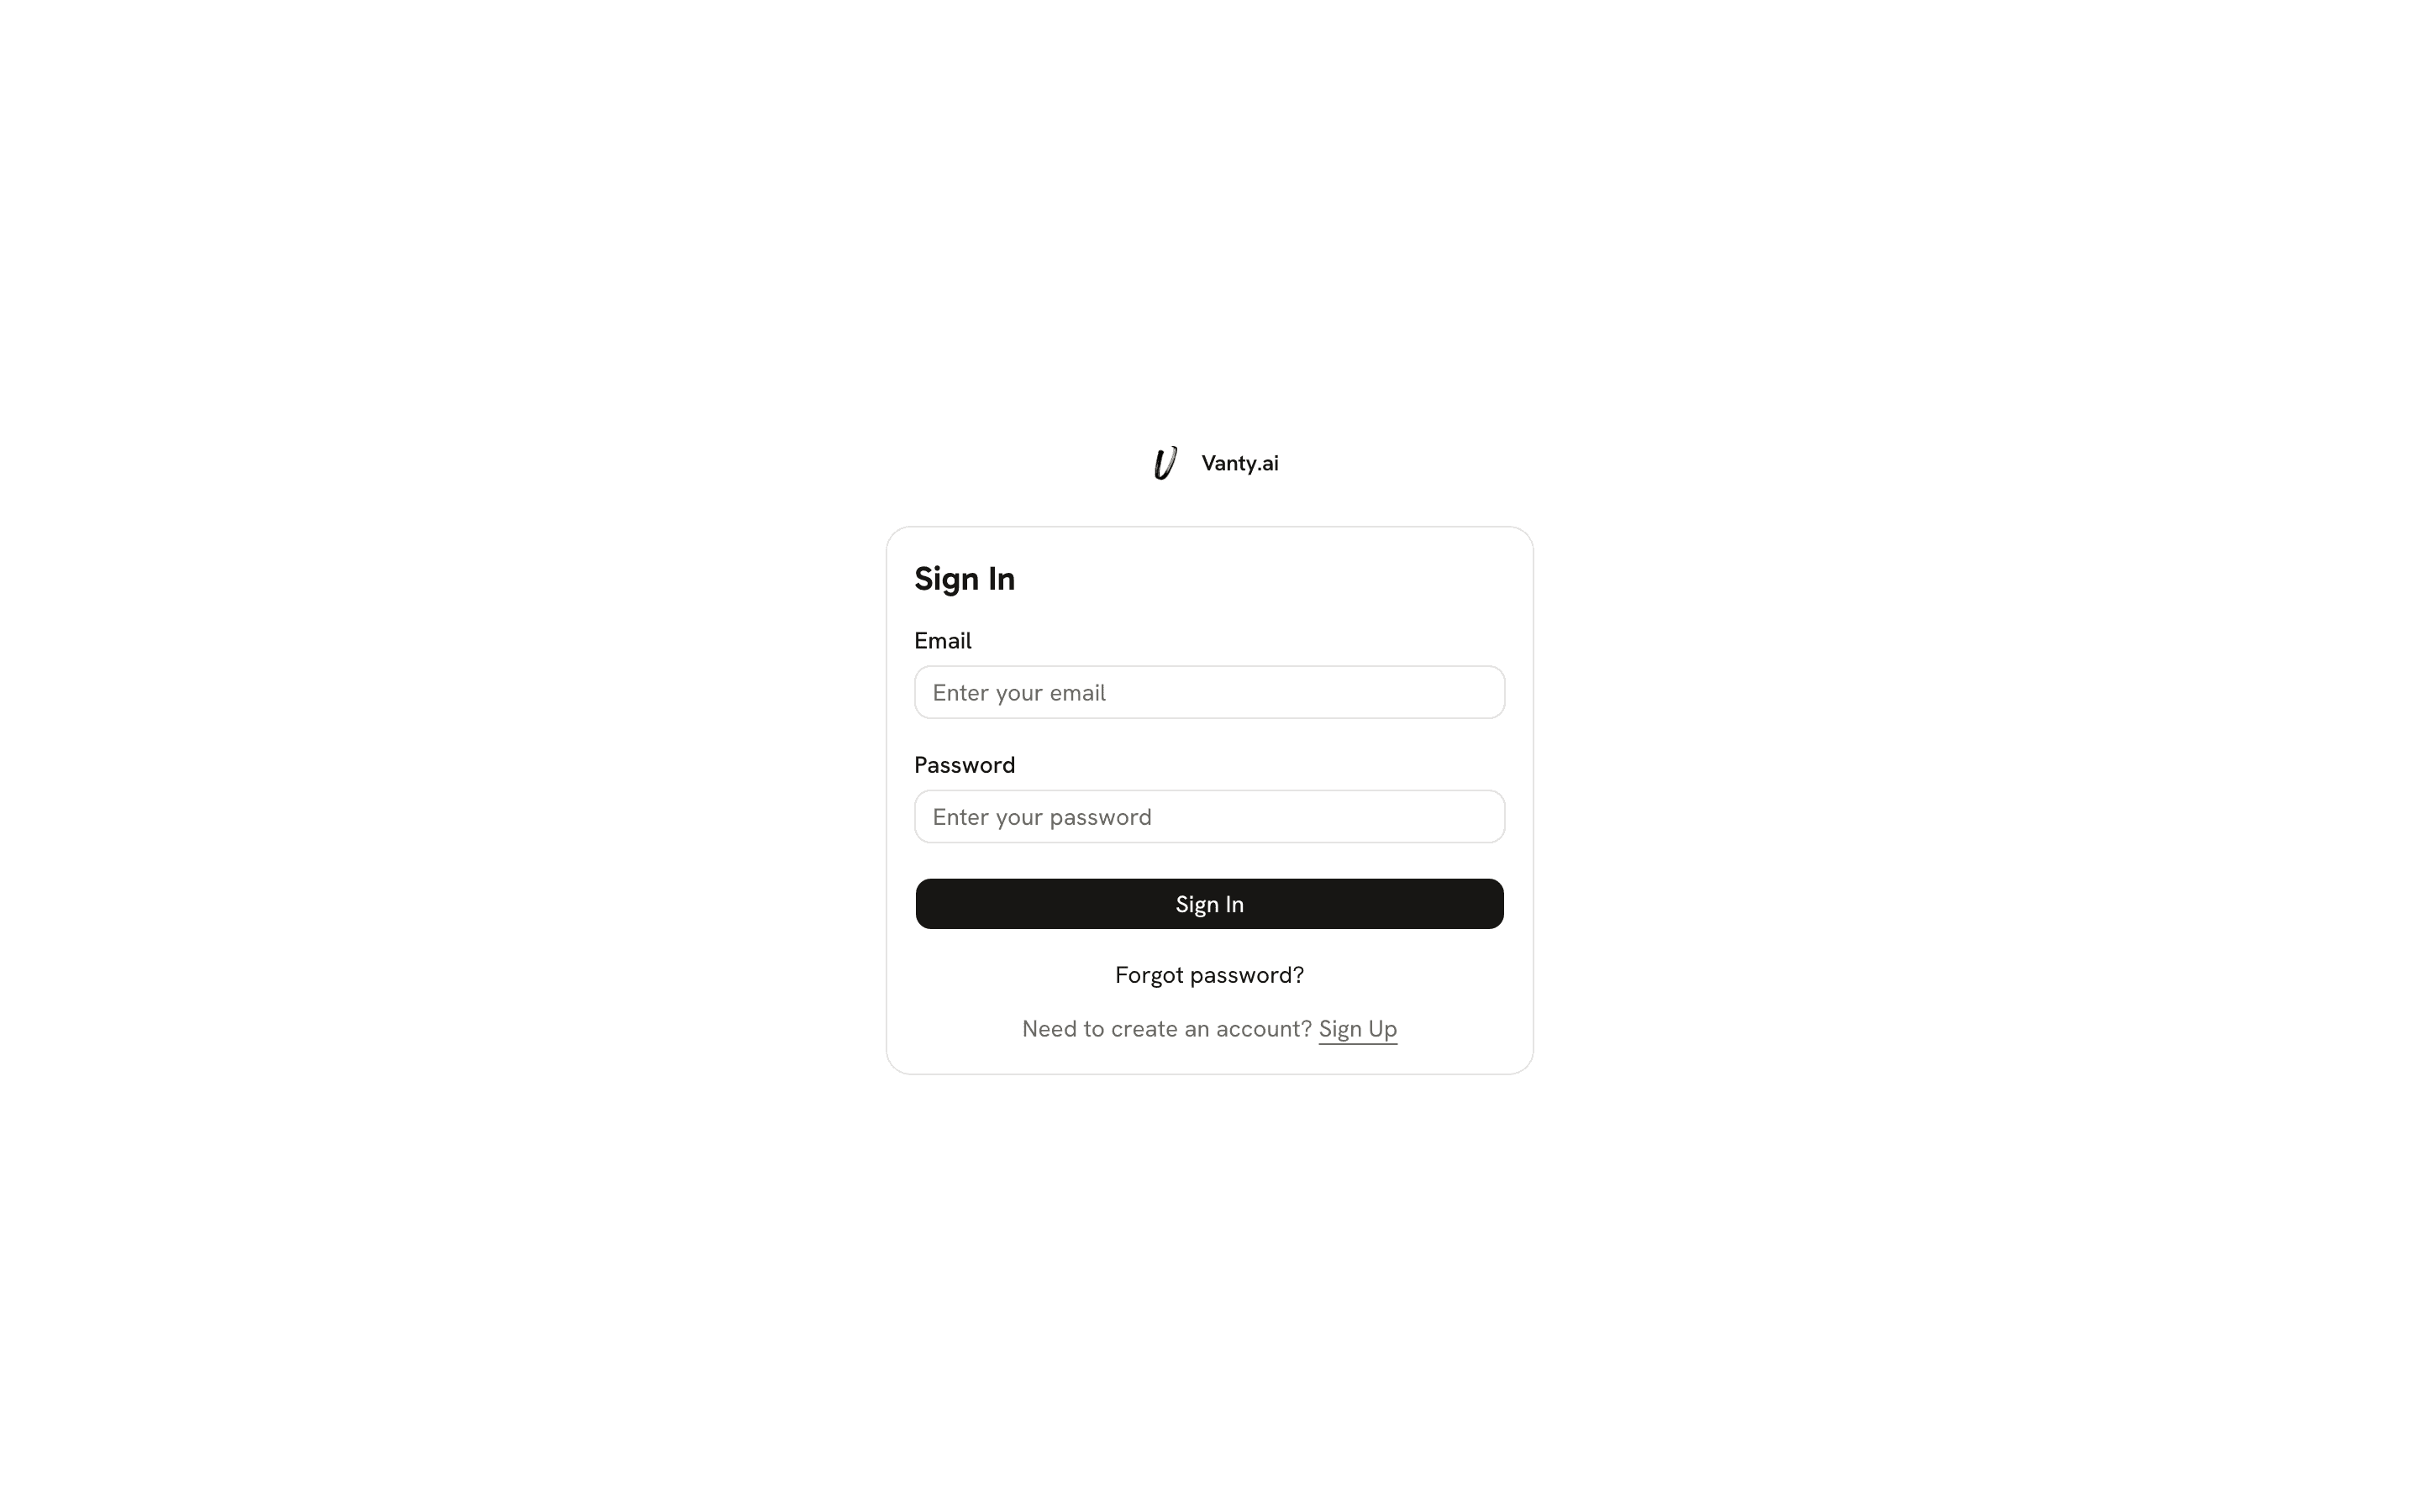
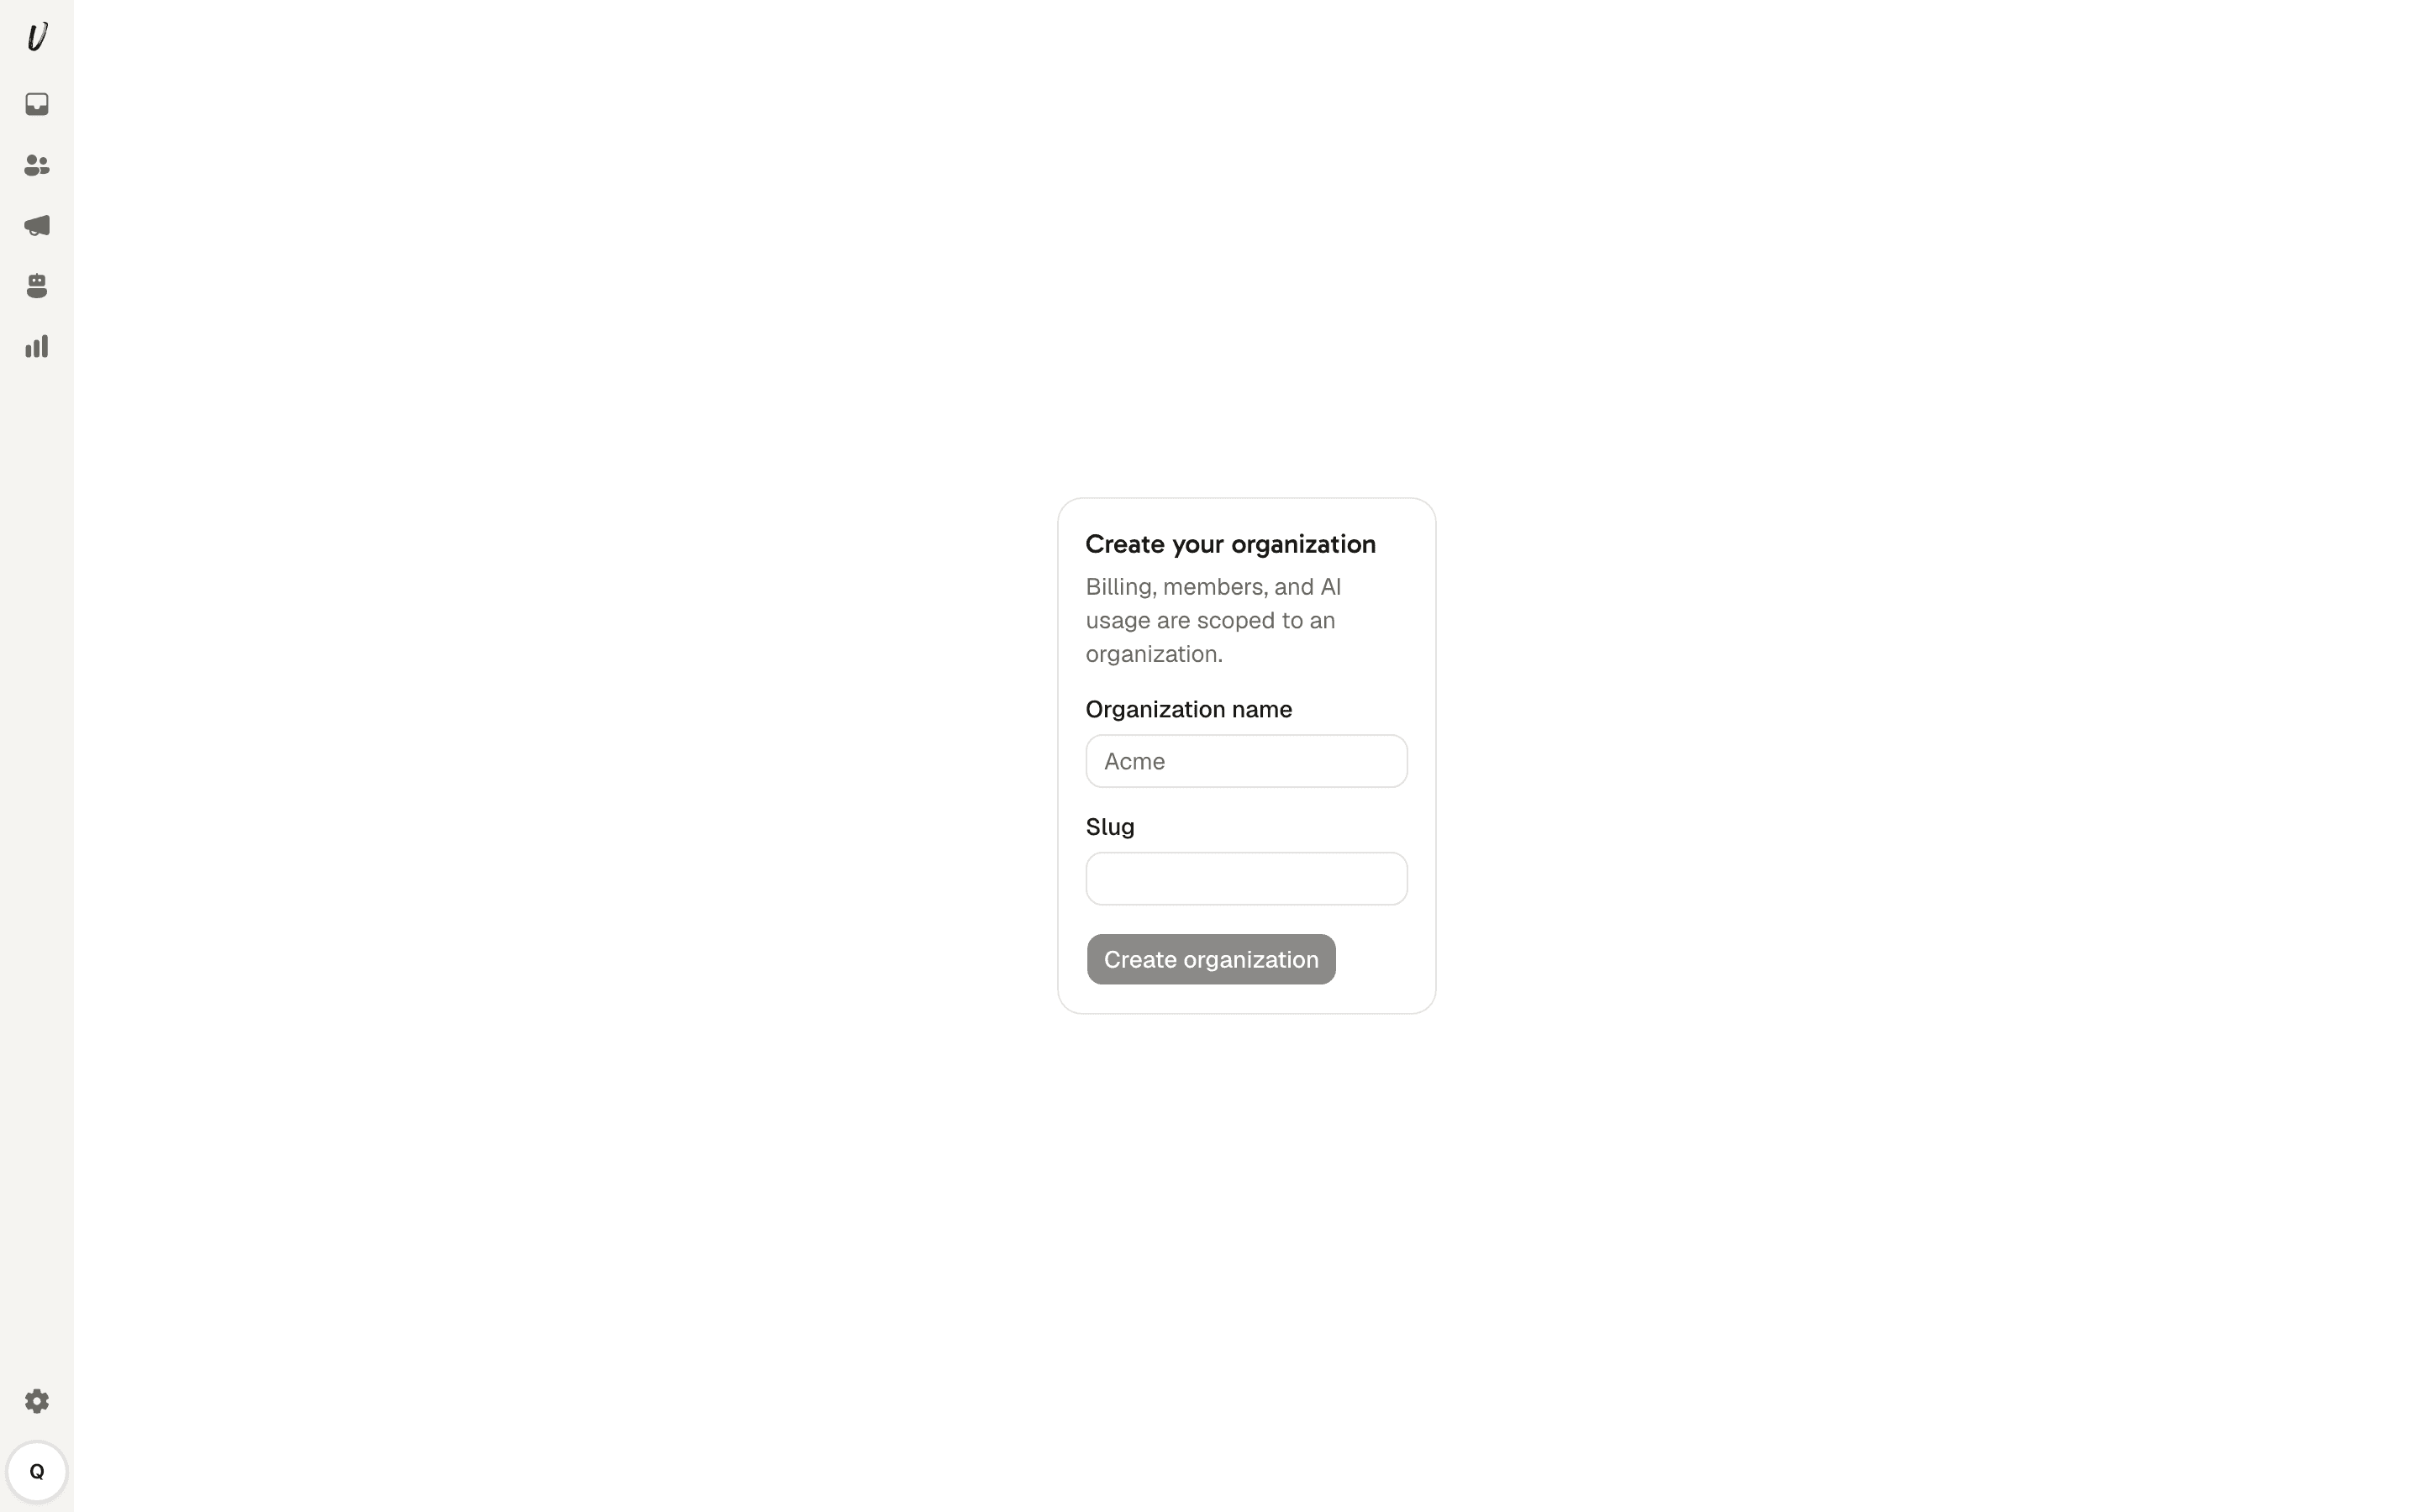
Sign up at /auth/sign-up with your email and a password. After signing in you land on /app. If you have no workspace you are prompted to create one by entering a name; the URL slug is auto-filled.
On the workspace creation form the field is labelled organization. Elsewhere the product calls it workspace.
Onboard your agent
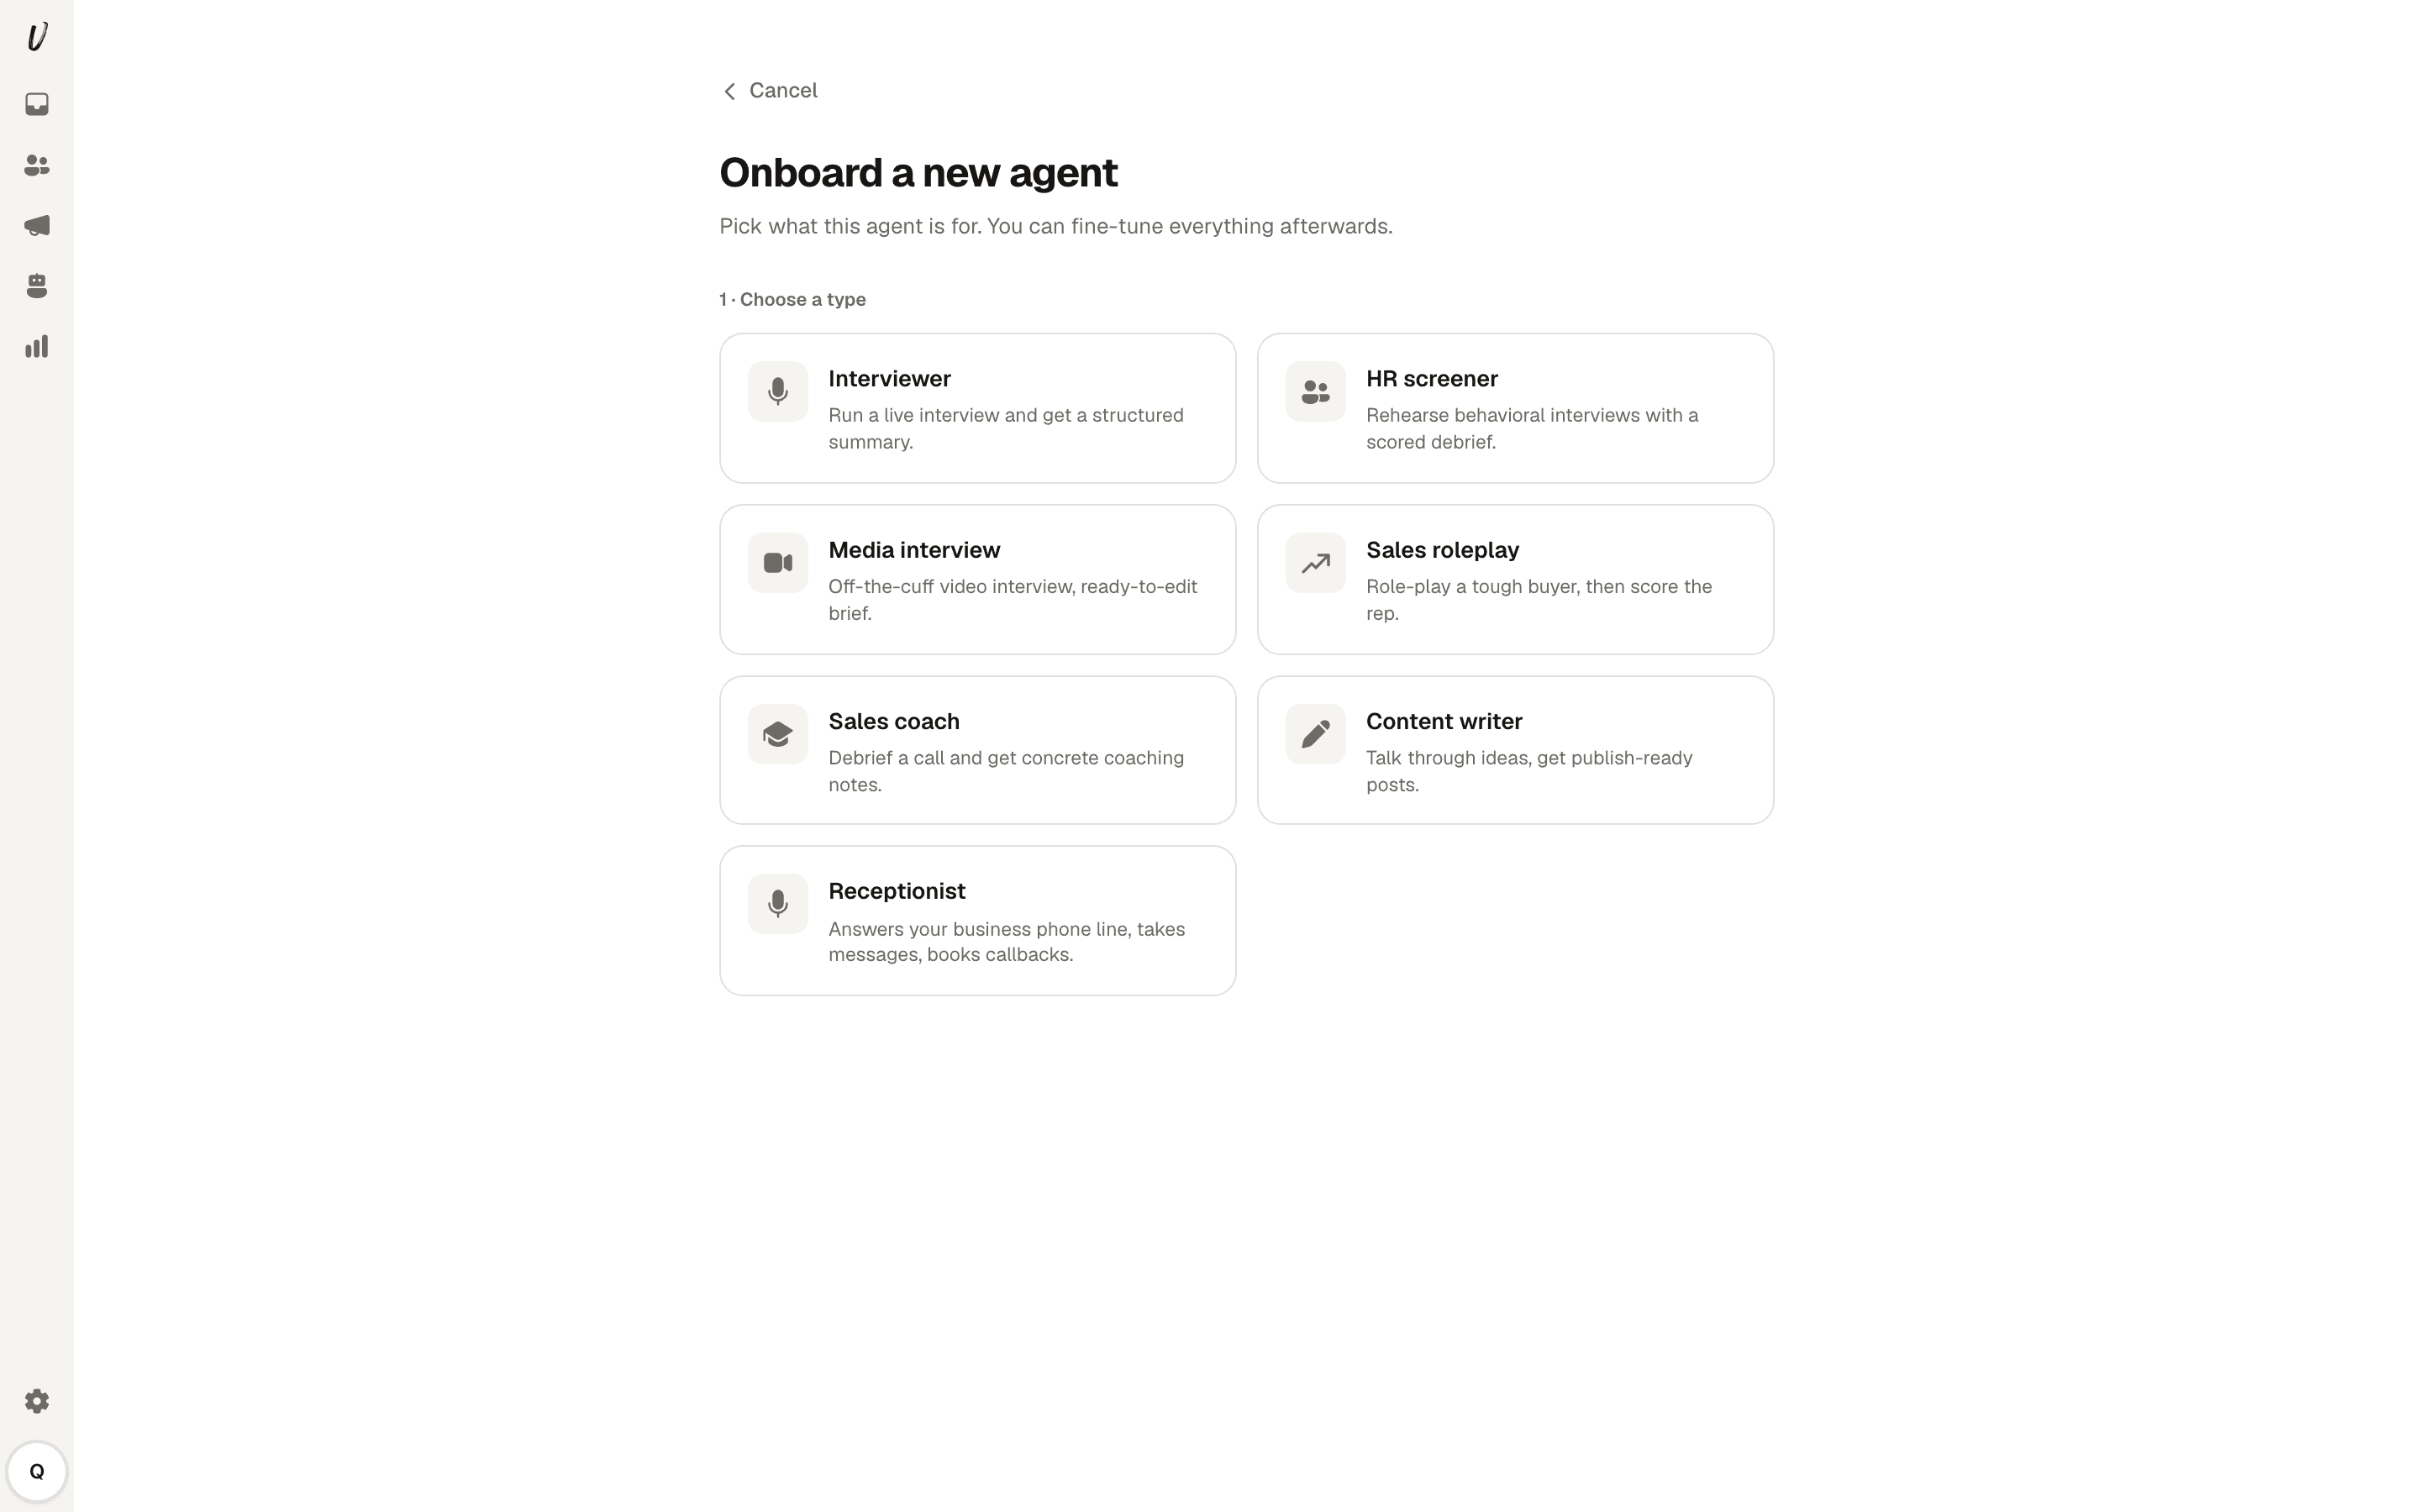
After creating a workspace you start agent onboarding at /app/onboarding. The page is headed "Onboard a new agent" and the subtitle reads "Pick what this agent is for. You can fine-tune everything afterwards." Step one is labelled "1 · Choose a type". Select "Receptionist" described as "Answers your business phone line, takes messages, books callbacks." Only a Receptionist agent can answer calls.
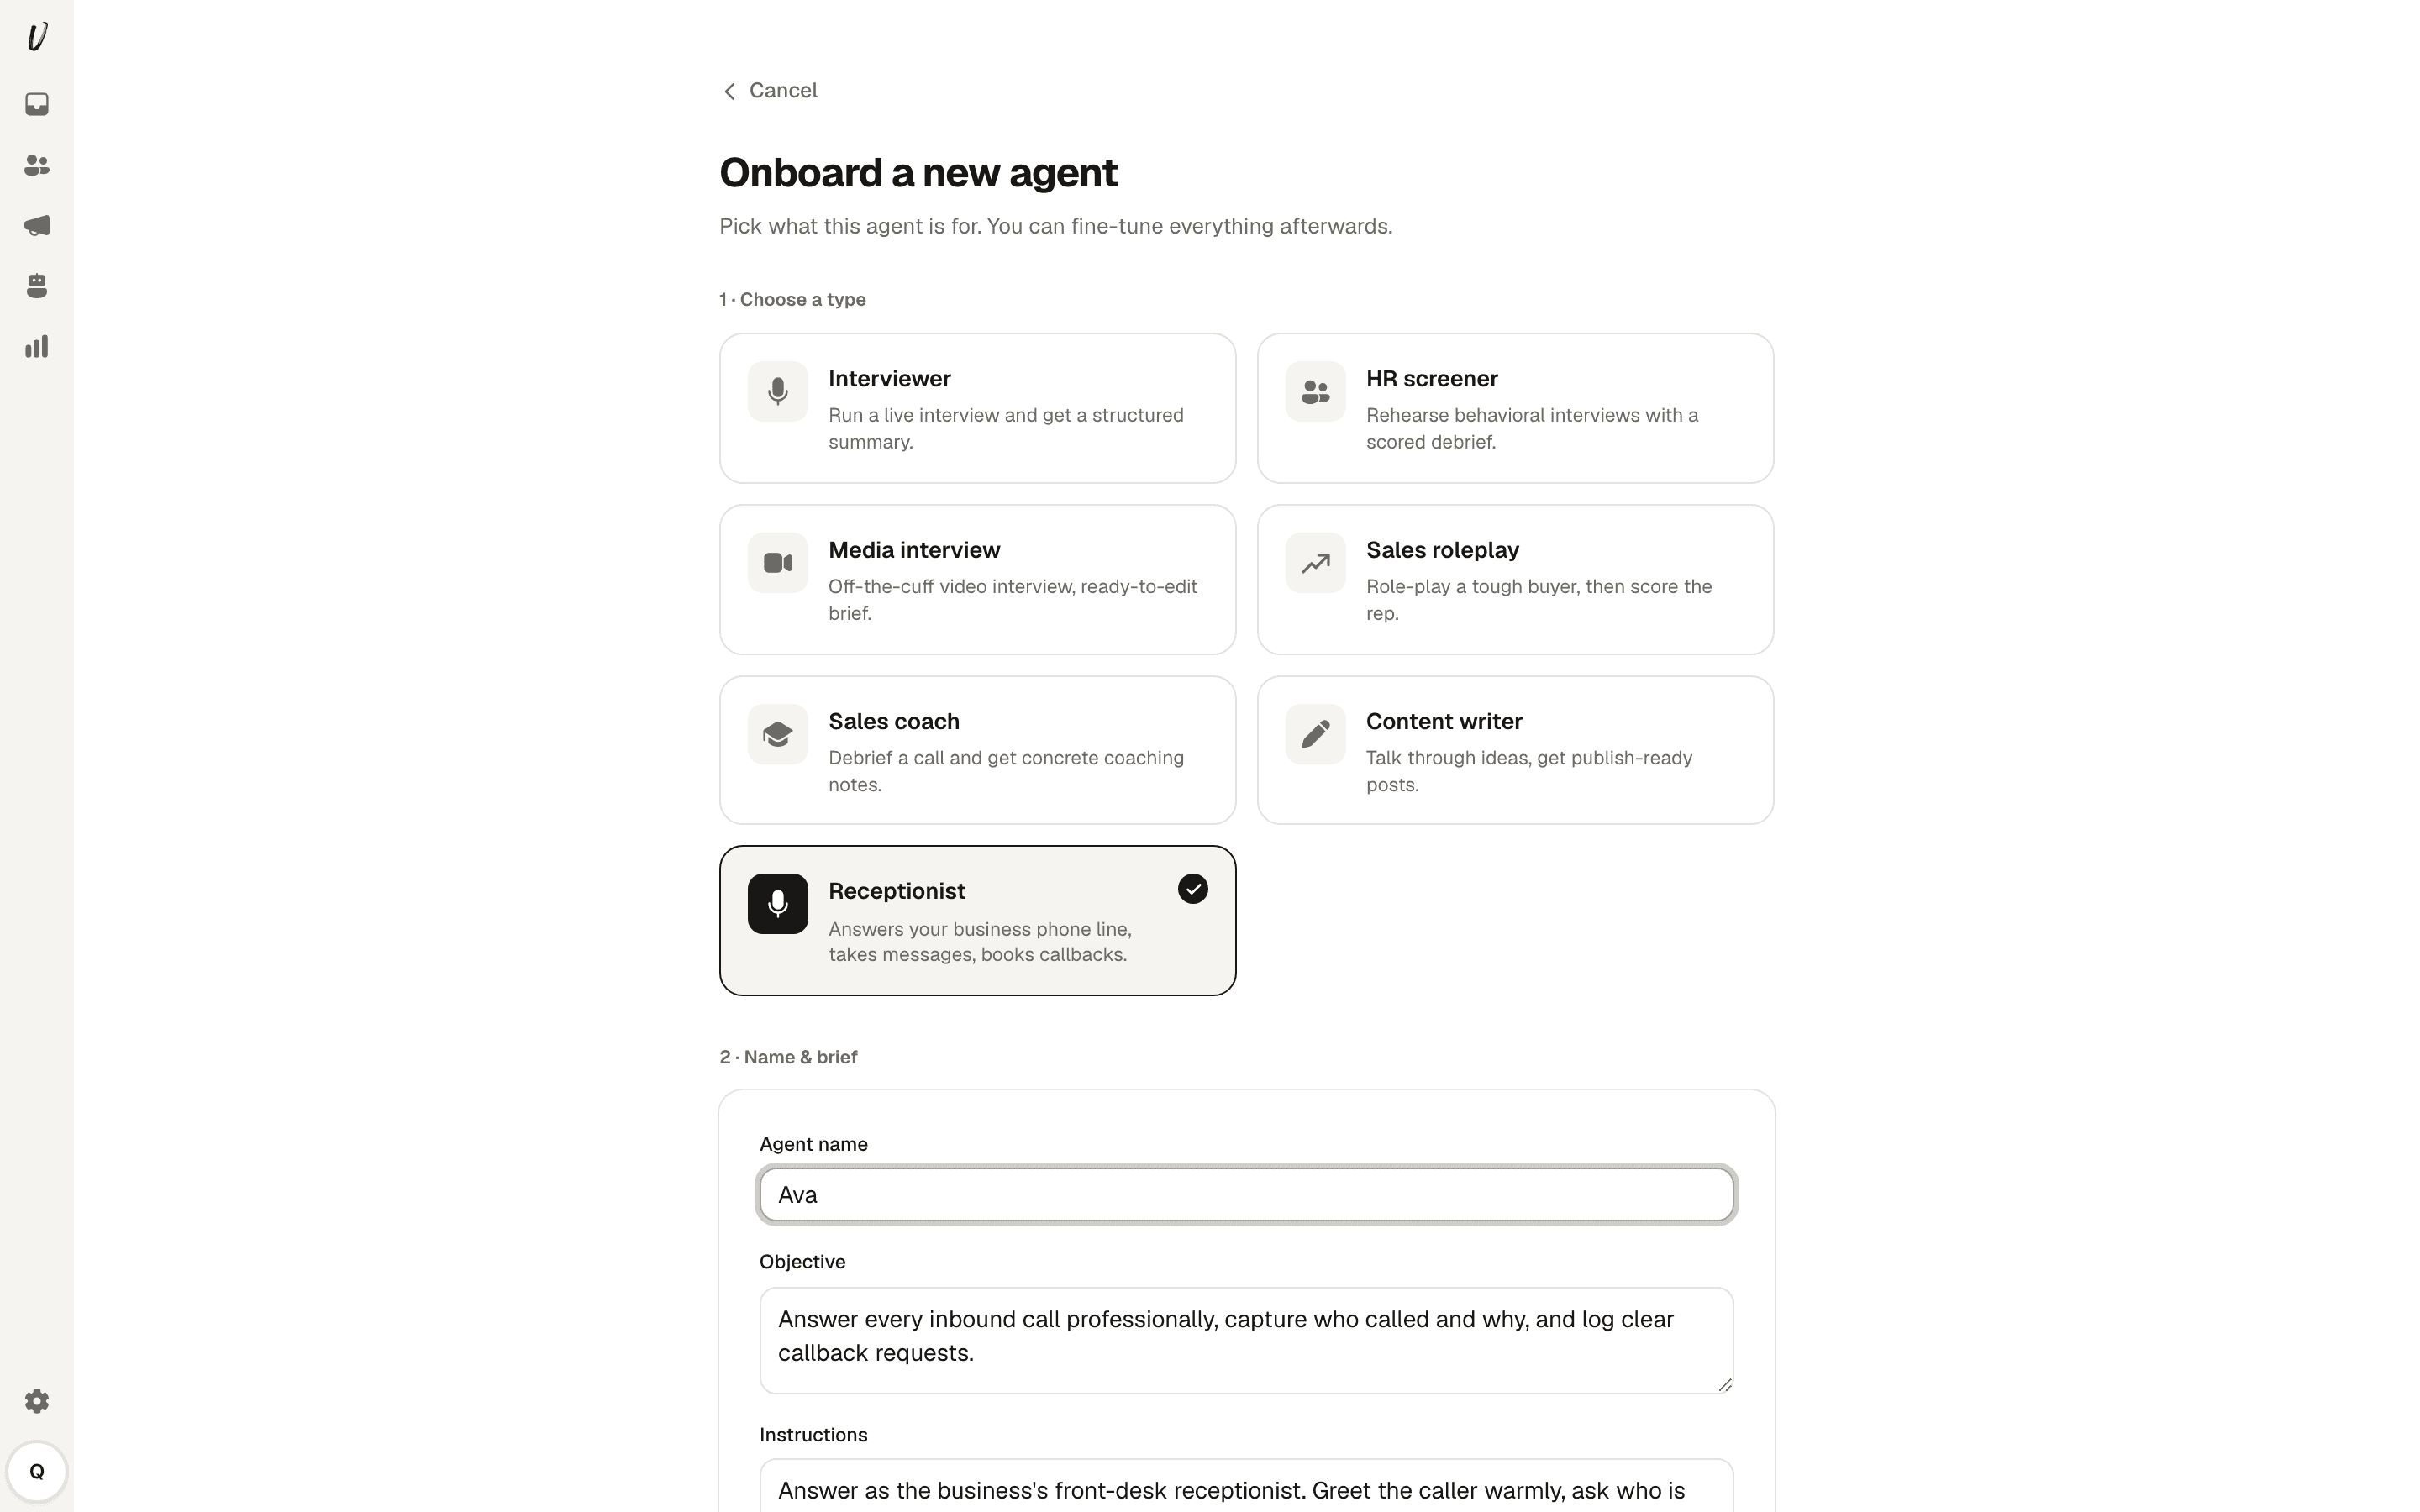
Once you select "Receptionist" the form advances to step two under "2 · Name & brief". Enter an agent name that callers and visitors see. The Objective and Instructions fields are pre-filled; you can edit them later in Settings.
Connect your channels
After onboarding you arrive on /app/channels?onboarding=1. The wizard heading is "Set up your channels" with the prompt "Which channels do you want to set up?" and the note "Pick everything you plan to use, you can add more later." Free web chat does not require a phone number. SMS and voice share a single number and require purchasing one.
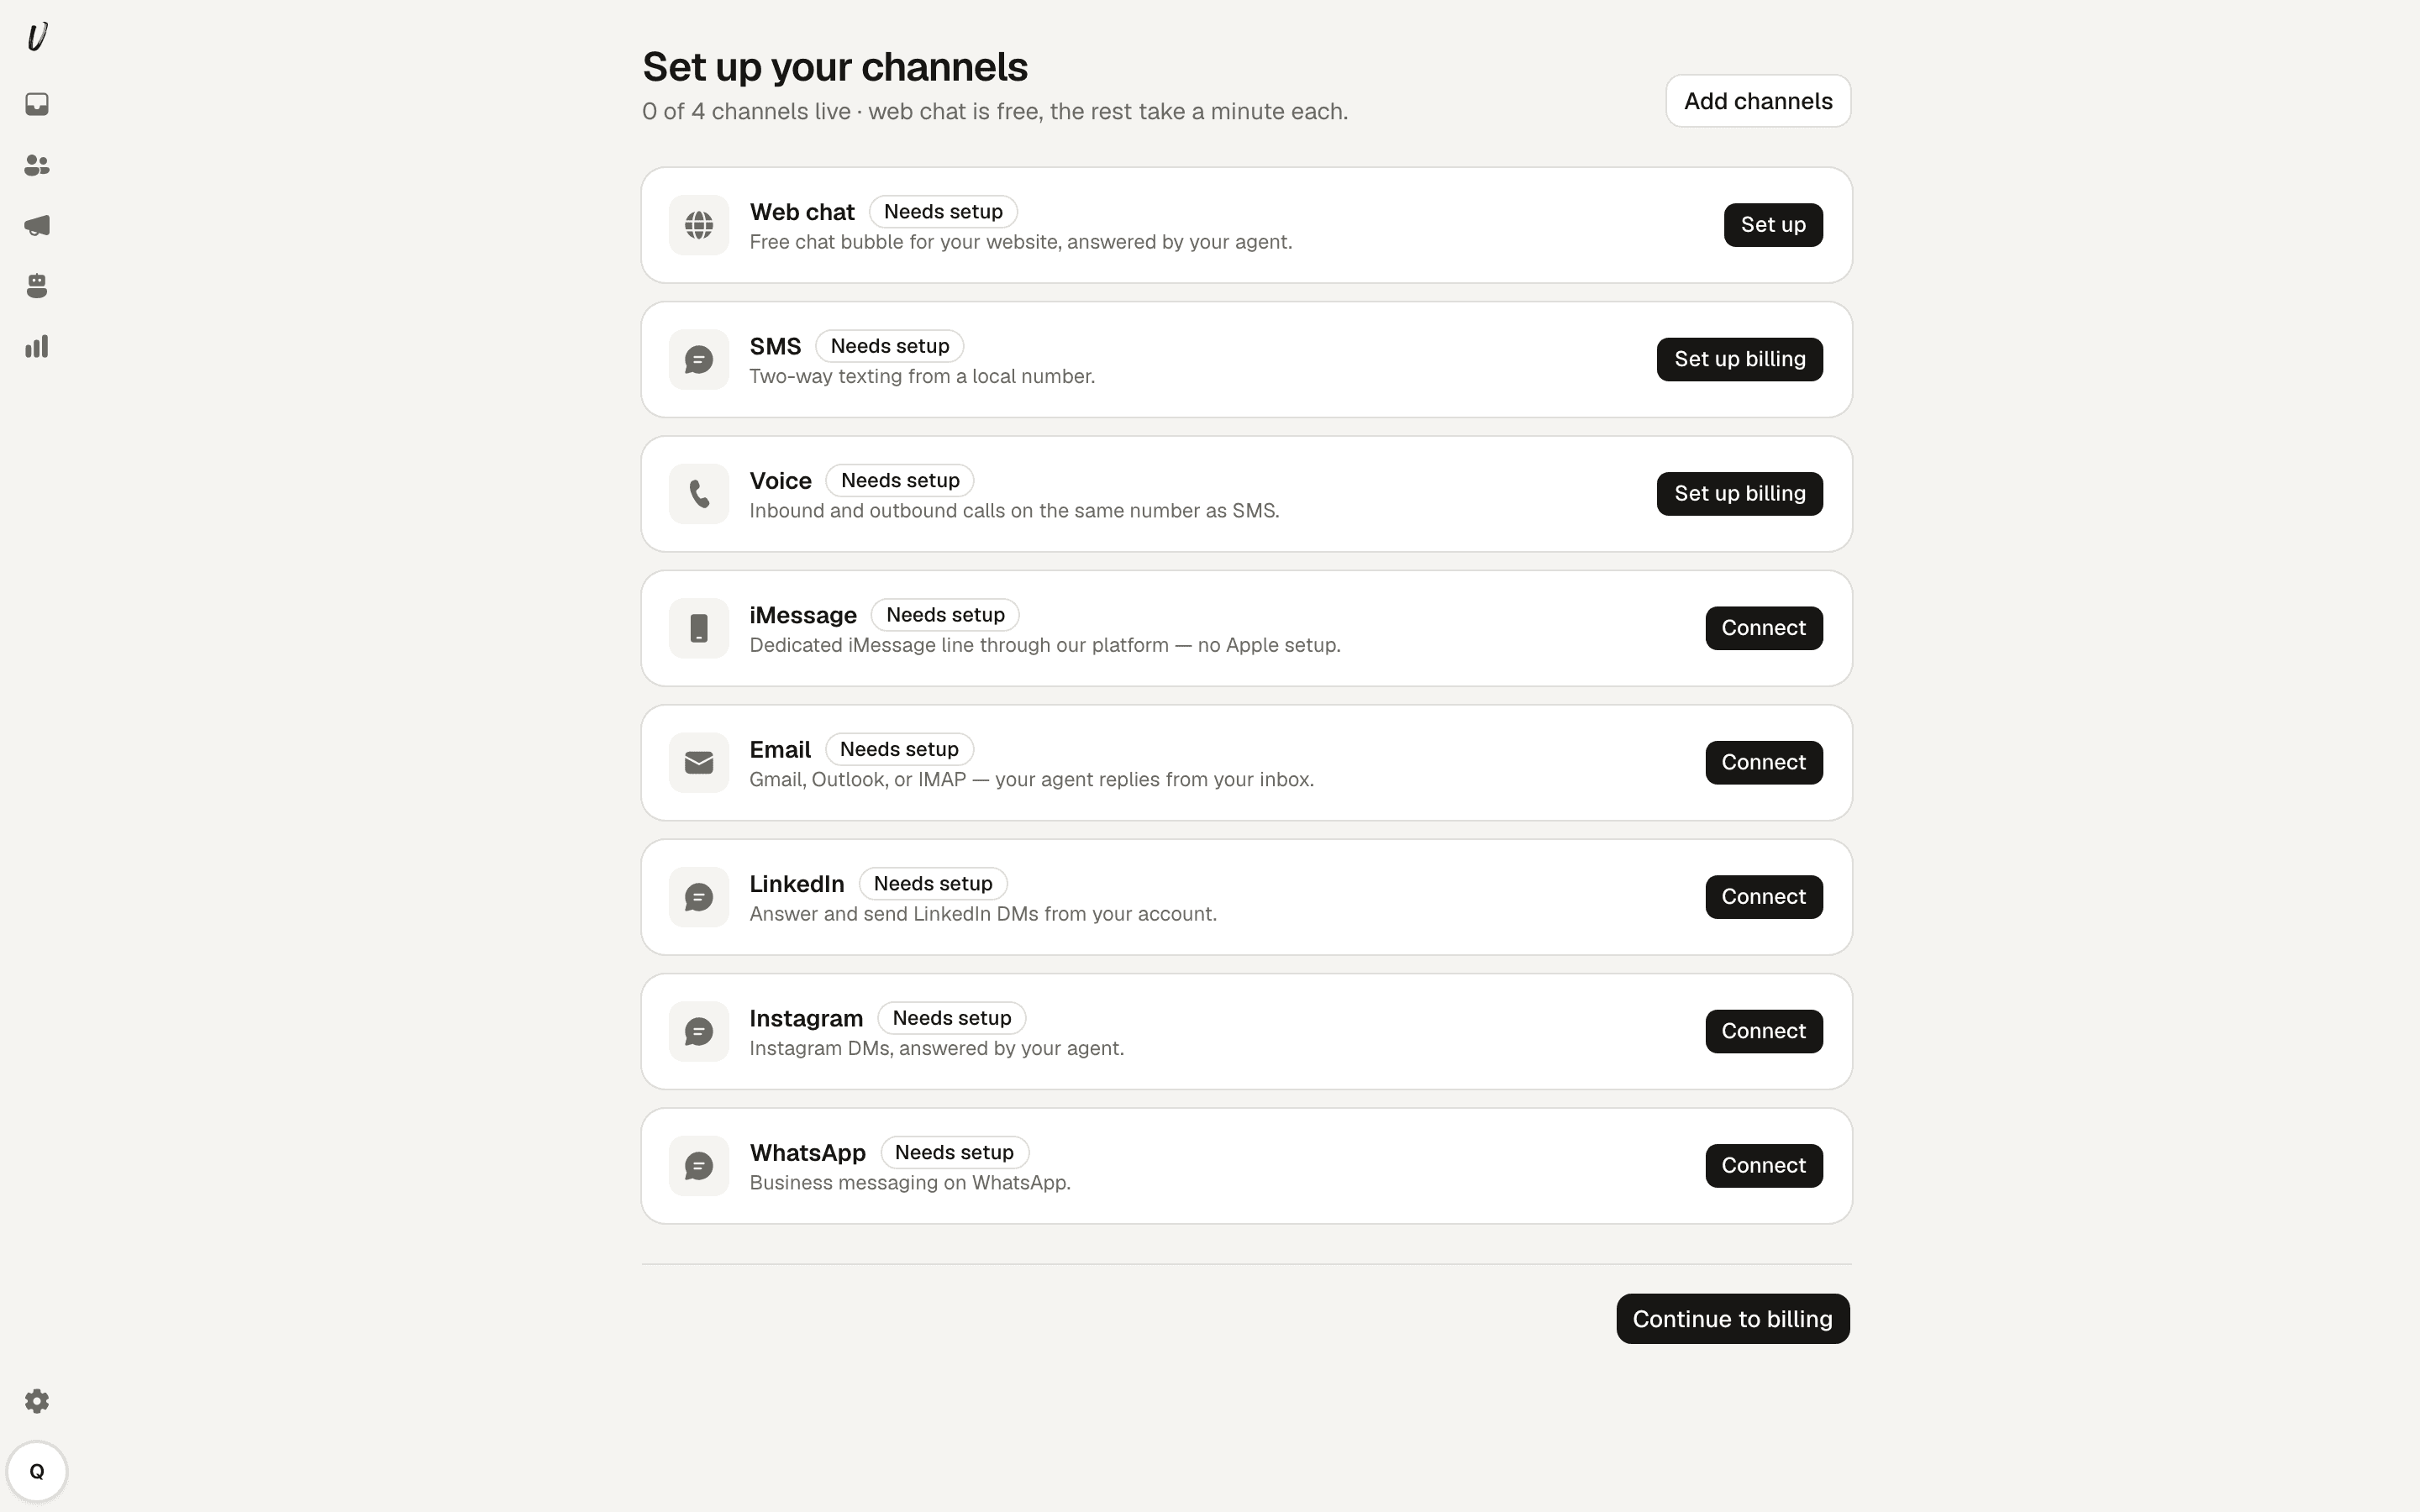
Each channel step provides Continue and Skip this step controls.
Choose a plan
The billing step shows the "Starter" and "Pro" plans. "Starter" costs $149 a month and "Pro" costs $399 a month. Both include a seven-day free trial that requires a card.
Next steps
For details on embedding chat on your site see the Web chat widget page. For purchasing and managing a phone number see the Phone numbers and SMS page.